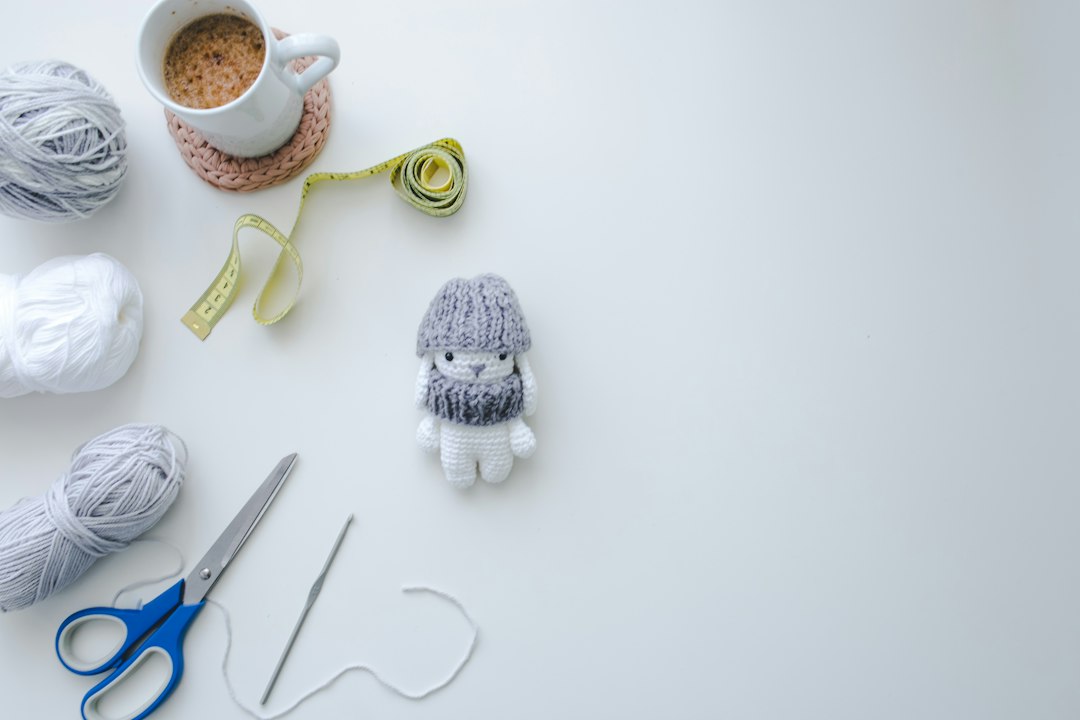
Why Beginners Struggle with Amigurumi Crochet
Crochet amigurumi animals represent one of the most rewarding yet technically demanding areas of the craft. While the concept seems straightforward—create a small stuffed animal through crochet—beginners frequently encounter obstacles that derail their progress before the first project is complete. Understanding these challenges is the first step toward overcoming them.
Amigurumi differs significantly from flat crochet projects like blankets and scarves. The tight spiral stitching, precise increase and decrease patterns, and three-dimensional shaping requirements create a steeper learning curve. Many new crocheters switch between crochet styles without realizing how much technique changes, leading to frustration when familiar methods produce unexpected results.
The emotional investment in amigurumi projects also amplifies the impact of mistakes. Unlike a simple dishcloth, an amigurumi animal requires numerous rounds of careful shaping. A single error in one round can cascade into significant distortion, making the final product look nothing like the intended character or animal.
Diagnosing and Fixing Uneven Tension
Tension inconsistency ranks as the most common problem faced by beginners attempting amigurumi. Uneven tension manifests in several recognizable ways throughout your work.
Tight Stitches That Resist the Hook
When stitches become too tight, the hook struggles to pass through completed loops. This problem typically stems from gripping the yarn too tightly or wrapping the working yarn around fingers with excessive force. The result is a stiff fabric where the next round's stitches feel cramped and difficult to execute.
To resolve this issue, consciously relax your grip. Hold the working yarn loosely between your middle finger and ring finger, allowing it to glide freely. Consider switching to an aluminum or bamboo hook, which provides better grip than plastic hooks for tense crocheters. Practice the "hang loose" breathing technique—exhale fully while working each stitch to naturally reduce muscle tension in your hands.
Loose Stitches That Leave Gaps
Opposite to overly tight work, loose tension creates visible gaps between stitches. These gaps become especially problematic in amigurumi because stuffing will show through the gaps in the finished animal. This issue commonly occurs when crocheters wrap the working yarn too loosely around their fingers or use a hook that is too large for their yarn weight.
The Tension Diagnostic Checklist
Evaluate your work against these specific indicators:
- Stitches should be snug enough to fill the entire round with no visible holes
- The hook should glide through stitches with light resistance, not significant force
- Your finished piece should hold its shape without flopping or stretching unnaturally
- Thread should pass easily through completed stitches when weaving in ends
Resolving Common Stitch Pattern Mistakes
Mistakes in stitch patterns compound rapidly in amigurumi because each round builds upon the previous one. A missed increase or an accidental decrease can shift the entire geometry of your project.
Missed Increases in Growth Rounds
When building the body or head of an amigurumi animal, increases must occur at precise intervals. Missing an increase results in flat or inward-curving edges instead of the rounded shape the pattern intends. This mistake produces a flattened sphere that looks deflated rather than plump and three-dimensional.
The most effective defense against missed increases involves using a removable stitch marker. Place a marker in the first stitch of every round and count each stitch aloud as you work through increases. When a pattern instructs you to work two single crochets into one stitch, treat this as a single instruction regardless of how many times the increase appears in sequence.
Accidental Decreases That Collapse Shape
An unintended decrease happens when you accidentally work two stitches together outside of a designated decrease round. This error creates a small dent or dip in the fabric that distracts from the overall shape. On curved surfaces like heads and bodies, even a single accidental decrease produces a noticeable imperfection.
To prevent this mistake, develop the habit of checking your stitch count at the end of every round. Write down your count after completing rounds 3, 6, and 9 as a verification checkpoint. If the count does not match the pattern expectation, backtrack to identify where the error occurred.
Confusing Half Double Crochet with Double Crochet
Some amigurumi patterns incorporate half double crochet stitches for texture or specific shaping purposes. Beginners who confuse this with double crochet produce stitches that are noticeably taller and looser than intended. The resulting section appears puffy and stretched compared to surrounding single crochet work.
Always verify which stitch abbreviation the pattern uses before beginning a round. American and international stitch terminology differs, so confirm whether your pattern uses US or UK terms to avoid executing the wrong stitch entirely.
Choosing the Right Materials to Prevent Problems
Material selection directly influences whether you experience common amigurumi troubleshooting challenges. The wrong combination of yarn and hook creates problems that no amount of technique adjustment can fully resolve.
Yarn Weight and Opacity Requirements
Amigurumi demands yarn with sufficient density to hide the stitch definition while maintaining structural integrity. Worsted weight yarn (#4) represents the most forgiving option for beginners because it provides adequate coverage without excessive bulk. Sport weight yarn (#2) works well for smaller animals but requires more precise tension control.
Avoid yarn that is too thin relative to your hook size, as this combination guarantees visible gaps. Similarly, mohair or novelty yarns create fuzzy halos that obscure stitch definition, making it extremely difficult to count stitches accurately or identify mistakes.
Hook Size Selection Guideline
The hook size should correspond to the yarn weight according to the yarn label recommendation, then potentially reduced by half a millimeter for amigurumi specifically. Using a smaller hook produces tighter stitches that resist gap formation. A common beginner error involves following the yarn label recommendation exactly without adjusting for the denser fabric required in amigurumi construction.
| Yarn Weight | Recommended Hook Size | Amigurumi Hook Size | Best For |
|---|---|---|---|
| Lace (#0) | 2.0–2.25 mm | 1.5–2.0 mm | Tiny miniature animals |
| Super Fine (#1) | 2.25–3.25 mm | 2.0–2.75 mm | Delicate baby animals |
| Fine (#2) | 3.25–3.75 mm | 3.0–3.5 mm | Small animals up to 8 inches |
| Light (#3) | 3.75–4.5 mm | 3.5–4.0 mm | Medium-sized projects |
| Worsted (#4) | 5.0–5.5 mm | 4.0–4.5 mm | Beginner-friendly standard |
| Bulky (#5) | 6.0–7.0 mm | 5.5–6.0 mm | Large plush animals |
Mastering Stuffing Techniques for Professional Results
Proper stuffing transforms a technically correct but poorly finished amigurumi into a polished, professional-looking creation. Insufficient or uneven stuffing produces limp, shapeless animals that fail to capture the intended character.
Understuffing Creates Sagging Bodies
When insufficient stuffing is applied, the crocheted shell loses its structural support. The head may droop forward, the belly sinks inward, and the overall form appears deflated. This problem is especially noticeable in animals meant to sit upright or stand on four legs.
The solution requires layered stuffing application. Begin with a firm base layer in the feet or base area, then work upward gradually. Add stuffing incrementally rather than attempting to fill the entire piece at once. The goal is firm but not rock-hard compression that distorts the stitch definition.
Overstuffing Distorts Stitch Definition
Excessive stuffing pushes the stitches apart and stretches the fabric beyond its intended dimensions. This over-tightening creates a smooth, almost balloon-like surface where the individual stitch texture becomes invisible. The animal loses the charming handmade quality that makes amigurumi appealing.
Correct overstuffing by removing excess fiberfill gradually. Rotate the animal while gently squeezing stuffed areas to redistribute the filling. For severe cases, carefully unpick a few stitches near a seam allowance area to extract additional stuffing before re-closing.
Strategic Stuffing Placement by Body Part
Different body parts require different stuffing densities for optimal appearance. The head generally benefits from firm stuffing to maintain roundness. Limbs require moderate stuffing—firm enough to hold shape but flexible enough to allow natural positioning. The torso should be stuffed firmly but with slightly less density than the head to allow for a natural belly curve.
Troubleshooting Assembly and Finishing Errors
The final stages of amigurumi creation involve sewing parts together and finishing loose ends. Assembly mistakes are particularly frustrating because they often require significant unpicking and rework to correct.
Misaligned Features During Sewing
When attaching ears, limbs, or facial features, alignment errors produce asymmetrical results that immediately signal amateur craftsmanship. One ear positioned higher than the other or a nose placed off-center ruins the visual balance of the entire animal.
Prevent misalignment by marking placement points with a stitch marker or fabric chalk before beginning to sew. Test-fit each piece by pinning or clipping it temporarily into position. Work with one feature at a time rather than attempting to assemble multiple parts simultaneously.
Visible Ends and Seams
Showy yarn tails and obvious seam lines detract from the polished appearance of a finished amigurumi. Beginners often weave in ends carelessly, leaving visible bumps on the surface. Seams that are too tight create puckering, while seams that are too loose leave gaps through which stuffing escapes.
Use a tapestry needle to weave ends through the purls (the bumps) of the backside of your work when possible. For seams, employ the mattress stitch or whip stitch with matching yarn, working through the back loops only to create a nearly invisible join. Pull seam stitches gently—not tightly—to maintain flat fabric edges.
Building a Systematic Troubleshooting Workflow
Developing a consistent workflow habit transforms troubleshooting from a reactive panic into a proactive quality control process. Experienced amigurumi crocheters do not encounter fewer problems; they simply catch and correct issues before they compound.
The Round-by-Round Verification System
Adopt a strict verification routine that includes checking stitch counts after every designated increase or decrease round. Keep a written tally of your expected versus actual stitch count. Any discrepancy triggers an immediate investigation before proceeding to the next round.
The Pre-Starting Pattern Read-Through
Before crocheting a single stitch of a new pattern, read through the complete instructions at least twice. Mark sections you find confusing, note where increase frequency changes, and visualize the three-dimensional shaping sequence. This pre-reading practice reduces mid-project confusion and helps you anticipate problems before they materialize.
The Progress Photo Archive
Take a photograph of your work after completing each major section—every ten rounds or at the completion of each body part. These reference photos serve two critical troubleshooting functions. First, they provide a visual record to compare against if you later discover an error and need to backtrack. Second, they help you identify when shaping begins to diverge from the expected form, allowing early correction.
Conclusion: Turning Troubleshooting into Mastery
The path to proficiency in amigurumi crochet runs directly through the landscape of troubleshooting. Every mistake represents a lesson embedded in the yarn and fiberfill. The crocheter who learns to diagnose tension problems, catch pattern errors early, select appropriate materials, and apply professional finishing techniques develops skills that extend far beyond any single project.
Beginner frustration with amigurumi rarely indicates a lack of ability. More often, it reflects incomplete knowledge of the specific techniques and preventive habits that experienced makers use instinctively. By implementing the diagnostic strategies and systematic approaches outlined in this guide, you transform each obstacle into an opportunity for growth.
The animals you create will improve noticeably as you internalize these troubleshooting principles. Your stitches will tighten or loosen with deliberate control rather than nervous habit. Your increase and decrease sequences will flow with accuracy instead of frequent reversal. Your finished pieces will reflect confidence, precision, and the distinctive charm that defines expert-level amigurumi craftsmanship.
FAQS
Q: Why do my amigurumi stitches have visible gaps?
A: Visible gaps in amigurumi stitches almost always indicate a mismatch between hook size and yarn weight, or tension that is too loose. The most common fix is to switch to a hook size that is one-half millimeter smaller than what the yarn label recommends. This creates tighter stitches that eliminate gaps while still allowing the hook to glide through comfortably. Additionally, check that your tension is consistent throughout each round. Uneven gripping pressure causes some stitches to tighten while adjacent stitches remain loose, creating the appearance of gaps. Practice maintaining even yarn wrap tension and working each stitch with uniform pull force.
Q: How do I fix an amigurumi that looks flattened instead of round?
A: A flattened amigurumi shape typically results from insufficient increases during the growth rounds of the head or body. When increases are spaced too far apart or omitted entirely, the fabric grows outward in flat planes rather than curving into a sphere. To correct this, carefully examine your pattern's increase schedule and compare it against your current piece. If you are already partway through the project and notice flattening, you can sometimes unpick several rounds and insert additional increases to restore the proper curvature. For future projects, place a stitch marker in the first stitch of every round and count meticulously after each increase round to verify your stitch count matches the pattern exactly.
Q: What is the best way to attach limbs without them looking floppy?
A: Floppy limbs indicate either inadequate stuffing density or improper attachment technique. Start by ensuring each limb receives firm, even stuffing before closing the opening. Use polyfil fiberfill in small increments, packing it firmly around the interior walls as you build upward. When sewing the limb into place, use a strong embroidery floss or matching yarn threaded through a tapestry needle. Thread the needle through the attachment point on the body, then through the limb base, pulling each stitch firmly but not so tightly that the fabric puckers. Knot the thread securely inside the body stuffing before trimming. For extra stability, consider inserting a pipe cleaner or wire armature inside the limb before stuffing for poses that require extended limbs.
Q: How can I tell if I am counting my amigurumi rounds correctly?
A: Correct round counting is fundamental to amigurumi success, and errors here produce compounding shape problems. To verify your count, place a removable stitch marker in the first stitch of each round. When you reach the marker, you have completed one full round. Some crocheters prefer to move the marker up one stitch per round, while others leave it stationary and count mentally. For absolute certainty, write down your round number and stitch count after completing every third or fourth round in a dedicated notebook. If your written count does not match the pattern's expected count at any checkpoint, stop immediately and carefully trace back through your work to locate where the count diverged. This proactive verification system prevents small counting errors from becoming major reconstruction projects.