Introduction: The Enchanting World of Amigurumi
Amigurumi, the Japanese art of knitting or crocheting small, stuffed yarn creatures, has taken the crafting world by storm. Whether you are looking to create adorable plushies for yourself, gifts for loved ones, or selling handmade toys, this complete guide to How to crochet amigurumi animals for beginners will serve as your pillar hub for mastering this rewarding craft. In this definitive, 360-degree overview, we will demystify the process, walking you through the essential tools, basic stitches, assembly techniques, and pro-tips to ensure your first project is a delightful success.
Why Crochet Amigurumi?
Crocheting amigurumi is uniquely satisfying because it allows you to construct three-dimensional objects from simple loops. Unlike flat projects, amigurumi involves working in the round, building shape and volume incrementally. It is a highly meditative craft that yields tangible, cute results quickly.
Essential Tools and Materials for Your First Amigurumi Project
Before you cast on your first loop, gathering the right materials is crucial. Using the correct tools will make the learning curve much smoother and prevent frustration.
Yarn Selection: Weight and Fiber Matters
For amigurumi, the most popular choice is worsted weight (medium/4) yarn or aran weight yarn. These weights are thick enough to work up quickly and hide your stuffing, yet small enough for beginners to handle comfortably. Acrylic yarn is highly recommended for beginners because it is inexpensive, durable, and easy to wash. Cotton yarn is also an excellent, hypoallergenic option, though it can be slightly less forgiving on the hands.
Hook Size and Notions
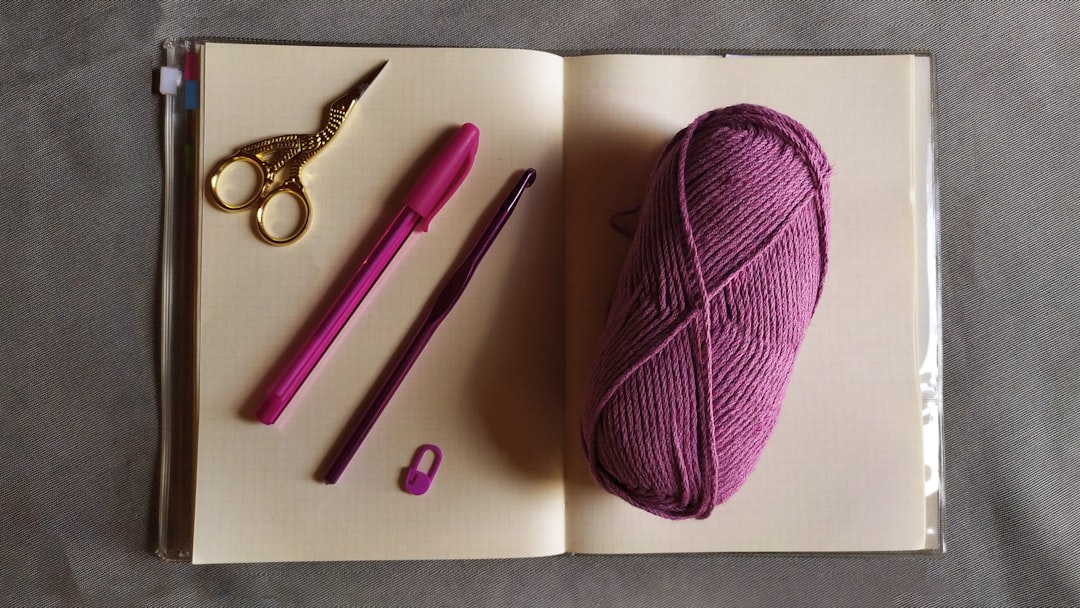
To pair with worsted weight yarn, a 3.5mm (E), 4.0mm (G), or 4.5mm (7) crochet hook is standard. You will also need:
- Stitch markers: Essential for marking the beginning of rounds.
- Yarn needle: For weaving in ends and sewing parts together.
- Fiberfill stuffing: High-quality polyester stuffing that retains its loft.
- Safety eyes and noses: To give your animals personality. Always ensure these are child-safe if making toys for kids.
| Material | Recommended Options | Why It's Best for Beginners |
|---|---|---|
| Yarn | Worsted Weight Acrylic (e.g., Red Heart Super Saver, Caron Simply Soft) | Durable, affordable, widely available, and easy to care for. |
| Hook | 4.0mm (G) or 4.5mm (7) aluminum/plastic hook | Comfortable grip, smooth glide, perfect for tight tension. |
| Stuffing | 100% Polyester Fiberfill (e.g., Poly-Fil) | Soft, hypoallergenic, easy to compress, and holds shape well. |
| Eyes | Plastic safety eyes with washers (10mm–18mm) | Secure locking mechanism prevents choking hazards. |
Mastering the Core Amigurumi Stitches and Techniques
Amigurumi relies on a very limited repertoire of stitches. Once you master these, you can create almost any animal shape.
The Magic Ring (MR) and Single Crochet (sc)
The foundation of nearly all amigurumi is the Magic Ring (MR), which allows you to start with a tight, adjustable center. This is vital for animal heads, limbs, and bodies to avoid a visible hole in the center.
The primary stitch used in amigurumi is the Single Crochet (sc). It provides a dense, sturdy fabric that keeps the stuffing inside.
Essential Increases and Decreases
To turn a flat circle into a 3D shape, you must manipulate the number of stitches per round:
- Increase (inc): Stitching two single crochets into the same stitch. This adds width (e.g., widening the belly or head).
- Decrease / Invisible Dec (dec): Pulling a loop through two stitches at once. This reduces the stitch count, creating curves, tucked-in ears, or closing the head.
Step-by-Step Guide: Crafting Your First Amigurumi Animal
Let's apply these techniques by walking through the creation of a classic beginner-friendly animal, such as a simple bear or bunny.
Step 1: Starting the Head with the Magic Ring
Start with a Magic Ring. Chain 1 (does not count as a stitch). Work 6 single crochets (sc) into the ring. Pull the tail tight to close the hole. Place a stitch marker in the first stitch of Round 2 to keep your place.
Step 2: Shaping the Head with Increases
In Round 2, you will increase to expand the circle:
- Round 2: sc in the first stitch, inc in the next stitch. Repeat around. You will end up with 12 stitches.
- Round 3: sc in the first two stitches, inc in the next stitch. Repeat around (18 stitches).
Continue this pattern of increasing by 6 stitches every round until the head reaches the desired diameter for your animal.
Step 3: Creating the Body and Limbs
To make limbs, start a new Magic Ring and repeat the increase pattern, but stop increasing earlier to create a cylinder. For example, work 6 sc in the MR, increase to 12 stitches over two rounds, and then work even (just sc) for 4 to 6 rounds. Leave a long tail for sewing.
Step 4: Stuffing and Assembly
Lightly stuff the head, body, and limbs with the polyester fiberfill. Use the long yarn tail and a yarn needle to sew the limbs to the body. Position the eyes and nose before securing them permanently to ensure the animal looks balanced and expressive.
Pro-Tips, Troubleshooting, and Safety Standards
Amigurumi is straightforward, but a few professional insights can elevate your creations from good to exceptional.
Maintaining Consistent Tension
The biggest challenge for beginners is keeping stitches tight. If your stitches are too loose, the stuffing will peek through, and the shape will look lumpy. Practice holding your yarn and hook in a way that applies gentle resistance. If you are a loose crocheter, consider dropping a hook size or switching to a slightly thicker yarn.
Safety First: Toy Making for Children
When making amigurumi for babies or young children, safety is paramount.
- Use only child-safe plastic safety eyes with metal or plastic washers, or embroider the eyes securely with yarn.
- Avoid small, detachable parts like buttons or beads that could become choking hazards.
- Ensure all ends are woven in securely using a yarn needle, going back and forth through the fabric at least three times.
Expanding Your Skills: From Beginner to Advanced Patterns
Once you have mastered the basic stitches and assembly, you can begin exploring more complex designs. Advanced amigurumi patterns introduce:
- Color changes: To add stripes, spots, or facial features.
- Working with multiple colors in the same round: To create seamless transitions.
- Non-standard shapes: Using chains, slip stitches, and picots to create wings, tails, and ears.
Remember, every expert was once a beginner. Start with simple patterns, practice your tension, and gradually take on more complex animal designs.