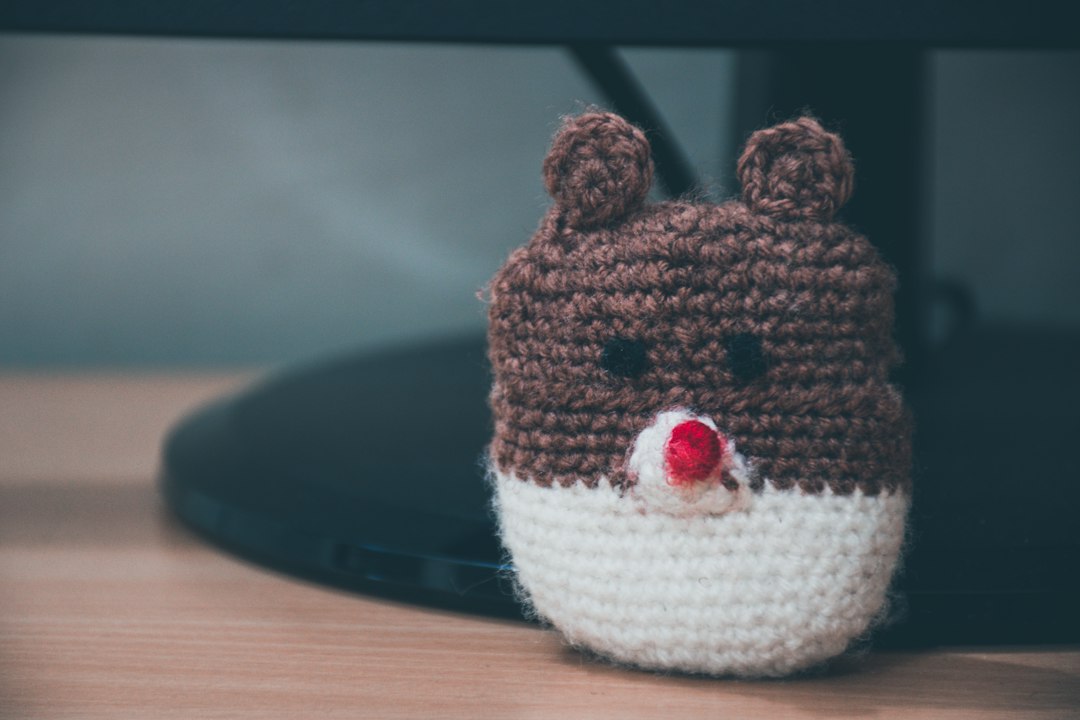
Introduction to the Art of Amigurumi
What is Amigurumi?
Amigurumi is the Japanese art of knitting or crocheting small, stuffed yarn creatures. Derived from "ami" (knitted/crocheted) and "nuigurumi" (stuffed toy), this craft has exploded in popularity worldwide for its cute, tactile appeal. Unlike traditional knitting, amigurumi is almost exclusively crocheted, using tight stitches to create seamless, three-dimensional shapes. For beginners, it offers a rewarding entry point into yarn crafts, combining simple techniques with creative expression.
The beauty of amigurumi lies in its accessibility. You don't need advanced skills to start—just a basic understanding of crochet stitches and a willingness to practice. Whether you dream of crafting a chubby panda, a sleepy sloth, or a whimsical mythical creature, this guide will walk you through every step, from selecting materials to finishing touches.
Fundamentals & Core Concepts
Essential Tools for Beginners
Before diving into stitches, gather the right tools. Quality equipment makes a significant difference in your crocheting experience.
- Crochet Hook: Start with a size 3.0mm (D/3) or 3.5mm (E/4). These sizes work well with common yarn weights and help maintain tight tension.
- Yarn: Opt for medium weight (4) yarn, such as acrylic or cotton blend. These fibers are durable, easy to care for, and forgiving for beginners.
- Stitch Markers: Essential for marking the beginning of rounds in spiral crochet. Use a simple safety pin or plastic marker.
- Tapestry Needle: For sewing parts together and weaving in ends.
- Fiberfill Stuffing: 100% polyester stuffing is standard for amigurumi, providing firmness and shape retention.
- Scissors: Sharp, small scissors for cutting yarn cleanly.
Understanding Yarn Weight and Fiber
Choosing the right yarn is critical. Yarn weight refers to the thickness of the strand, and it directly impacts the final size and texture of your amigurumi. Here’s a quick comparison:
| Yarn Type | Fiber Content | Pros | Cons | Best For |
|---|---|---|---|---|
| Medium (4) Acrylic | Synthetic | Affordable, durable, wide color range | Can feel plastic-like | Beginners, washable toys |
| Medium (4) Cotton | Natural | Soft, breathable, holds stitches well | Less elastic, can split | Detailed work, hypoallergenic |
| Light (3) Wool Blend | Natural/Synthetic | Warm, elastic, great stitch definition | Can be itchy, pricier | Winter-themed animals |
For your first project, medium acrylic yarn is recommended due to its affordability and ease of use. As you progress, experiment with cotton for crisper details or wool blends for added warmth.
Mastering Basic Stitches
The Magic Ring
The magic ring (or magic circle) is the starting point for most amigurumi projects. It creates a tight, adjustable center that prevents holes. To make one:
- Wrap yarn around your fingers to form a loop.
- Insert the hook into the loop, pull up a loop, and chain one.
- Work the required number of single crochets (sc) into the loop.
- Pull the tail tight to close the center, then join with a slip stitch (sl st) to the first sc.
Practice this until it feels natural—it’s the foundation for every round that follows.
Single Crochet and Increases/Decreases
The single crochet (sc) is the backbone of amigurumi. It’s a short, dense stitch that builds structure. Here’s how to work it:
- Insert the hook into the indicated stitch, yarn over, pull up a loop (two loops on hook).
- Yarn over again, pull through both loops (one sc completed).
Increases (inc): Work two sc into the same stitch. This adds stitches to expand the shape, ideal for creating bellies or heads.
Decreases (dec): Insert the hook into the next stitch, pull up a loop; repeat in the following stitch (three loops on hook). Yarn over and pull through all three loops. This reduces stitches to taper shapes, such as limbs or ears.
Example Pattern Snippet:
Round 1: Magic ring, 6 sc (6 stitches)
Round 2: [2 sc in each st] around (12 stitches)
Round 3: [1 sc, inc] around (18 stitches)
This sequence forms a flat circle, the base for many animal heads.
Reading and Following Patterns
Anatomy of an Amigurumi Pattern
Amigurumi patterns are written in a concise, row-by-row format. They use standard abbreviations and often include diagrams. Key elements to look for:
- Stitch Abbreviations: sc (single crochet), inc (increase), dec (decrease), sl st (slip stitch), ch (chain).
- Round Instructions: Patterns specify the number of stitches per round, using brackets to indicate repeats. For example, "[2 sc, inc] x 3" means repeat the sequence two times.
- Assembly Diagrams: Some patterns provide a visual guide showing how parts connect. Refer to this when sewing limbs to the body.
Common Abbreviations
Here’s a cheat sheet for the most frequent terms:
| Abbreviation | Meaning | Example |
|---|---|---|
| sc | Single Crochet | "6 sc" = 6 single crochets |
| inc | Increase | "inc" = 2 sc in one stitch |
| dec | Decrease | "dec" = sc2tog (sc decrease) |
| sl st | Slip Stitch | Used to join rounds |
| ch | Chain | "ch 1" = chain one stitch |
| st(s) | Stitch(es) | Refers to stitch count |
When starting, choose a pattern labeled "beginner" or "easy." These typically involve fewer color changes and simpler shapes.
Assembly and Finishing Techniques
Stuffing and Sewing Parts
Once your crocheted pieces are complete, assembly brings your animal to life. Follow these steps:
- Stuffing: Begin with the head or body. Use small handfuls of fiberfill, pushing it into corners with a chopstick or your fingers. Stuff firmly but not so tightly that the stitches stretch.
- Sewing: Use a tapestry needle and matching yarn. For invisible seams, whip-stitch pieces together by passing the needle through the back loops only. For example, attach the head to the body by aligning the edges and sewing around the perimeter.
Pro Tip: Leave a long yarn tail when finishing each piece. This tail becomes your sewing thread, reducing the need to weave in ends later.
Adding Safety Eyes and Embroidery
Safety eyes are plastic or metal fasteners that give amigurumi their signature expression. To insert them:
- Position the eyes on the head, typically 2–3 stitches apart.
- Push the post through the stitch from the front to the back.
- Secure with the provided washer on the inside.
For animals without safety eyes, embroider French knots or small straight stitches to create eyes. You can also add embroidered details like whiskers, mouths, or paw pads using contrasting yarn.
Common Pitfalls and How to Avoid Them
Tension Issues and Hole Prevention
Maintaining consistent tension is the secret to professional-looking amigurumi. Common problems and solutions:
- Loose Stitches: If your stitches are too loose, the stuffing will peek through. Solution: Crochet with a smaller hook than the yarn label recommends. For example, if the label suggests 4.0mm, try 3.0mm.
- Holes at the Start: The magic ring can gape if not pulled tight. Always tug the yarn tail after the first round to close any gaps.
- Uneven Rounds: Counting stitches is crucial. Use a stitch marker to denote the beginning of each round, and verify the stitch count after every round to catch errors early.
Comparison: Tight vs. Loose Tension
| Aspect | Tight Tension | Loose Tension |
|---|---|---|
| Appearance | Smooth, seamless surface | Visible gaps, lumpy texture |
| Durability | Withstands play | Stitches may unravel |
| Difficulty | Requires practice | Easier for beginners but less professional |
Beginner-Friendly Projects to Start With
Simple Amigurumi Animal Patterns
Start with these classic designs to build confidence:
- Classic Bear: Uses only sc, inc, and dec. The body is worked in one piece, with ears and limbs sewn on separately.
- Penguin: Introduces color changes by switching yarn mid-round for the belly. Practice joining colors smoothly.
- Cat: Features basic embroidery for whiskers and a nose. Great for learning facial details.
Each project reinforces core skills while delivering a cute, tangible result. Once comfortable, progress to more complex patterns with multiple colors, joints, and intricate shapes.
Expanding Your Skills
After mastering the basics, explore advanced techniques like:
- Color Work: Intarsia or tapestry crochet for patterns (e.g., stripes or spots).
- Jointed Limbs: Use plastic safety joints to create movable arms and legs.
- Textured Stitches: Add half double crochet (hdc) or slip stitches for varied texture.
Join online communities like Ravelry or Instagram groups to share your creations and learn from others. Remember, every expert was once a beginner—patience and practice are your greatest allies.
Conclusion
Crocheting amigurumi animals is a joyful, meditative craft that blends simplicity with creativity. By mastering fundamental stitches, selecting the right materials, and following patterns diligently, you can create adorable stuffed companions. Start small, embrace mistakes as learning opportunities, and soon you’ll be crafting a whole menagerie of yarn creatures. Happy crocheting!